Thermal paste does one job: fill the microscopic gaps between your CPU and heatsink so heat moves efficiently from one to the other. When it dries out, that transfer gets worse. Temperatures creep up, your fans spin louder, and your system starts throttling under load. None of that happens overnight, which is exactly why most people don't catch it until something goes wrong.
This guide keeps the process simple with the steps and precautions that actually matter.
Why Does Thermal Paste Need Replacing?
Fresh thermal paste is slightly viscous and fills surface imperfections well. Over time, heat cycles cause it to dry, crack, and pull away from the contact area. Dust and debris compound the problem by sitting between the cooler and the CPU lid, further reducing contact quality.
On a gaming PC running hot workloads, this degradation can happen faster. A system with a Ryzen 9 7900X or Core i9-14900K that ran fine at launch might start hitting thermal limits two- or three-years in. Repasting is often the fix before anything else gets replaced.
Safety Precautions Before You Start
This is where most mistakes happen, and mistakes here are costly.
Power down completely. Not sleep mode. A full shutdown, with the power cable unplugged from the back of the case. If you're working on a desktop, flip the PSU switch off too.
Wait before touching anything. Give the system 20 to 30 minutes to cool. A heatsink that was under load an hour ago can still be warm enough to burn, and hot components are also more fragile.
Use an anti-static wrist strap. Static discharge can damage your CPU, motherboard, or RAM without any visible sign of failure. Clip the strap to an unpainted metal surface on your case. It takes ten seconds to put on and removes a real risk.
Work somewhere clean and well-lit. A dark workspace is how you lose a screw inside the case or miss a connector. Clear the area, use a bright light, and keep a small tray nearby for screws and hardware.
How to Replace Thermal Paste Step by Step
- Remove the heatsink or cooler. Loosen the mounting screws in a diagonal pattern (opposite corners, not one side to the other) to release pressure evenly. Lift the cooler straight up if possible. Some dried paste will cause the cooler to stick slightly. Twist gently before pulling.
- Clean off the old paste. Apply a small amount of 90% or higher isopropyl alcohol to a lint-free cloth or coffee filter. Wipe the CPU lid in one direction rather than scrubbing in circles. Clean the cooler contact plate the same way. Let both surfaces dry completely before moving on.
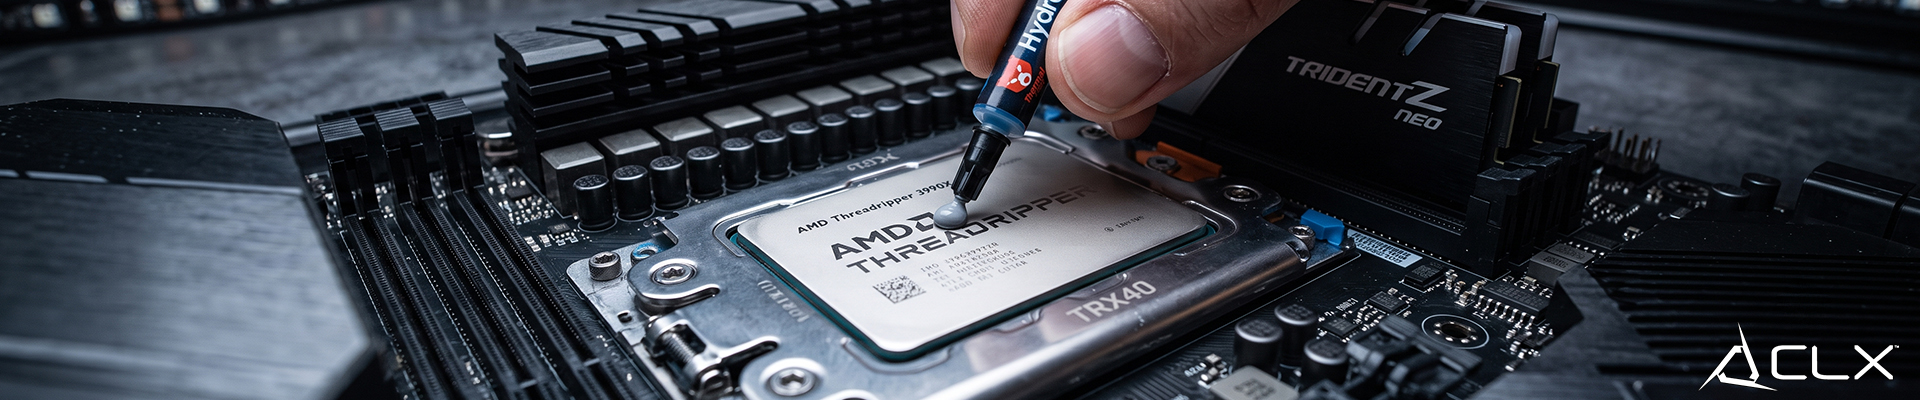
- Apply fresh paste. A pea-sized dot (roughly 3 to 4mm) centered on the CPU lid is usually enough. The pressure from the cooler spreads it across the contact area. More paste doesn't mean better transfer. It means excess squeezing out the sides and potentially reaching the socket.
- Reseat the cooler. Lower it straight down onto the CPU and tighten the mounting screws in a diagonal pattern again. Apply even pressure as you go. Uneven mounting leaves gaps and creates the exact problem you just fixed.
Power back on, run your system for a few minutes, and check CPU temperatures in something like HWiNFO64. If temperatures are meaningfully lower than before, the repaste worked.
Keep the Schedule Simple
Repaste every 2 to 3 years on a gaming rig. If you're in a warm environment or running sustained heavy workloads, lean toward 2. Mark it in your calendar and don't wait for symptoms.
If your system is due for more than just a repaste, browse CLX custom builds to see what a freshly built and tested machine looks like out of the box.